Photoshop Templates
 Resources


Inserting images in Dreamweaver
Learn how to insert images in dreamweaver and align them correctly against text. See video demo here.
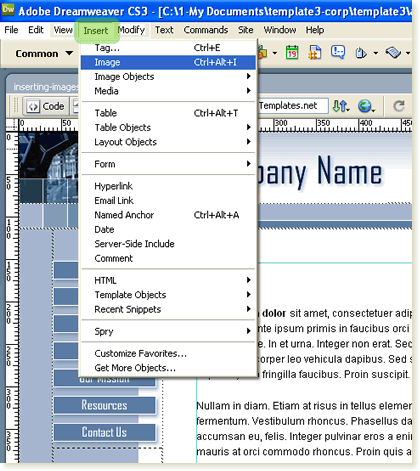
Step 1 : Open the html page document and place your cursor over the area in which you wish to place your image. From the top menu select:
insert > image
Step 2 : In the 'select image source' dialog box that appears that appears, browse to the location of your image and click o'kay. In the next dialog box that appears enter a keyword in the 'Alternate Text field'. Although, this is not absolutely necessary inserting 'Alt text' can help you your site in search rankings.
Here's what the inserted image looks like:
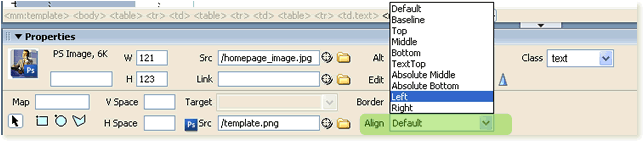
Step 3 : To align it against the text, select the image and then from the properties panel (window > properties) select 'align > left (or right):
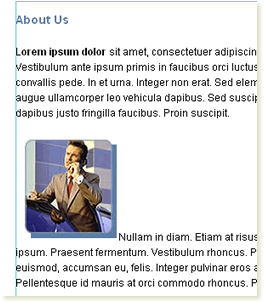
This is what your image looks like aligned left:

Step 4 : Although the image is inserted in the html page, it seems too close to the text. The workaround this is to increase the image canvas margin of the right side in a graphics program such as Adobe Fireworks. Adding 15 pixels to the right margin with a transparent canvas color is perfect.
Finished image inserted in Dreamweaver: